Sourdough baking has experienced an unprecedented surge in popularity, and 2026 is the perfect year to join the sourdough revolution. Whether you’re looking to improve your baking skills or start from scratch, this comprehensive guide will walk you through everything you need to know to create delicious, artisanal sourdough bread at home.
Table of Contents
Why Sourdough Baking Is Worth Your Time
Sourdough isn’t just a trend—it’s a timeless baking method that produces bread with superior flavor, texture, and digestibility. Unlike commercial yeast breads, sourdough relies on natural fermentation, which develops complex flavors and creates a crust that crackles with every bite.
In 2026, home bakers are increasingly turning to sourdough for its health benefits. The long fermentation process breaks down gluten and phytic acid, making the bread easier to digest. Plus, there’s something deeply satisfying about creating artisanal bread using only flour, water, and salt.
Understanding Sourdough Starters: The Foundation of Success
What Is a Sourdough Starter?
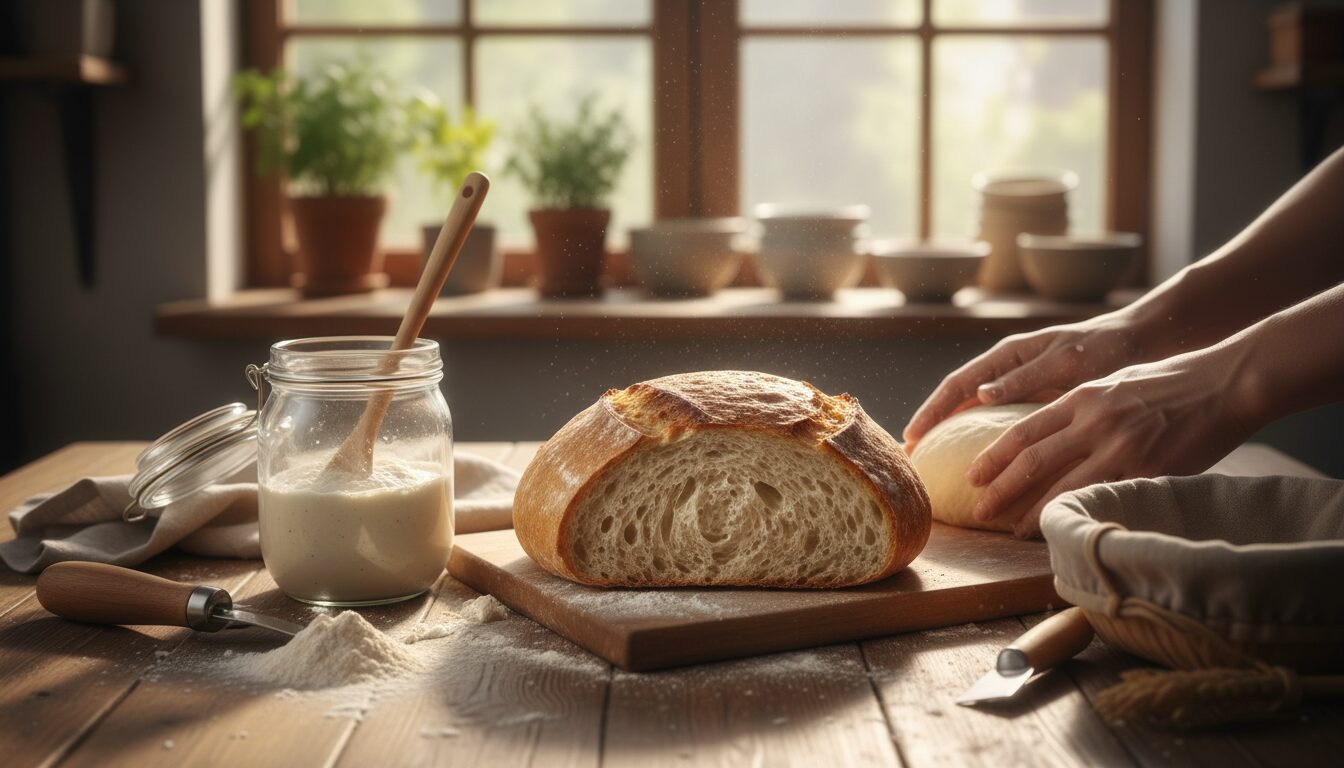
A sourdough starter is a living culture of wild yeast and beneficial bacteria that leavens your bread naturally. Think of it as a pet that requires regular feeding and care. Your starter is the heart of sourdough baking, and understanding how to maintain it is crucial.
Creating Your Starter from Scratch
Starting a sourdough culture takes patience, but it’s entirely achievable. Here’s what you need:
- Flour: Use unbleached all-purpose or whole wheat flour
- Water: Filtered or dechlorinated water works best
- Time: Expect 5-7 days for your starter to become active
Mix equal parts flour and water (typically 50 grams each) in a clean jar. Leave it at room temperature and feed it daily by discarding half the mixture and adding fresh flour and water. By day 5-7, you should see bubbles and smell a pleasant sour aroma.
Maintaining Your Starter
Once established, your starter needs regular feeding. If you bake weekly, keep your starter at room temperature and feed it once daily. For less frequent bakers, refrigerate your starter and feed it weekly. Before baking, remove your starter from the fridge, feed it, and let it become active (doubled in size with visible bubbles) before using.
Essential Equipment for Sourdough Baking
You don’t need fancy equipment to bake excellent sourdough. Here are the essentials:
- Dutch oven: Traps steam during baking, creating that coveted crispy crust
- Kitchen scale: Essential for accurate measurements (baking by weight is more reliable than by volume)
- Banneton or proofing basket: Supports dough during the final rise
- Bench scraper: Helps shape and handle dough
- Thermometer: Useful for monitoring dough temperature
While these tools will serve you well for sourdough, modern home bakers are also embracing other trending kitchen gadgets that will transform your cooking in 2026 to streamline their overall kitchen workflow.
Mastering the Sourdough Process
Step 1: Mix Your Dough
Start with a simple formula: 500g bread flour, 350g water, 100g active starter, and 10g salt. Mix the flour and water first, let it rest for 30 minutes (autolyse), then add the starter and salt.
Mix until everything is incorporated. The dough should feel slightly sticky but manageable.
Step 2: Bulk Fermentation
This is where flavor develops. After mixing, let your dough rest at room temperature for 4-6 hours. During this time, perform 4-5 sets of stretch and folds at 30-minute intervals. Wet your hand, grab one side of the dough, stretch it over the top, and repeat around the dough.
Stretch and folds strengthen your dough and develop gluten without aggressive kneading.
Step 3: Shaping and Cold Proofing
After bulk fermentation, your dough should be puffy and alive. Shape it gently into a round or oval, then place it seam-side up in your banneton. Cover and refrigerate for 12-24 hours. Cold fermentation develops flavor and makes scoring easier.
Step 4: Baking Your Masterpiece
Preheat your Dutch oven at 500°F for 45 minutes. Score your dough with a sharp blade, then carefully transfer it to the hot Dutch oven. Reduce heat to 450°F, cover, and bake for 20 minutes to trap steam.
Remove the lid and bake for another 25-30 minutes until golden brown. Your sourdough is done when it sounds hollow when tapped on the bottom.
Troubleshooting Common Sourdough Problems
Dense, Gummy Crumb
This usually indicates underproofing or insufficient fermentation. Extend your bulk fermentation time or ensure your starter is fully active before mixing.
Flat, Spread-Out Loaf
Overproofing is the culprit here. Reduce cold fermentation time or use a cooler proofing environment.
Pale Crust
Your oven may not be hot enough. Ensure your Dutch oven is fully preheated, and consider increasing the temperature slightly.
Starter Isn’t Rising
Your starter may need more time between feedings, warmer temperatures, or different flour. Be patient—some starters take longer to establish.
Tips for Consistent Success in 2026
- Keep notes: Track temperature, timing, and results to identify patterns
- Use a kitchen scale: Consistency comes from precise measurements
- Understand your environment: Room temperature affects fermentation speed significantly
- Be patient: Sourdough rewards patience with superior flavor and texture
- Join online communities: The sourdough community in 2026 is incredibly supportive and knowledgeable
For busy home bakers, consider pairing your sourdough journey with efficient 30-minute meal prep ideas for healthy eating all week to maintain a well-rounded approach to home cooking.
Conclusion
Mastering sourdough baking is a journey, not a destination. Your first loaf might not be perfect, and that&r
Frequently Asked Questions
How long does it take to make a sourdough starter?
A starter typically takes 5-7 days to become active. Feed it equal parts flour and water daily at 70-75°F. It’s ready when it doubles in size within 4-8 hours of feeding and smells pleasantly sour.
Why didn’t my sourdough bread rise?
Common causes include an underactive starter, water too hot (kills yeast above 120°F), insufficient bulk fermentation time, or over-proofing. Test starter activity by checking if it floats in water.
What flour is best for sourdough?
Bread flour (12-14% protein) produces the best structure and chew. Whole wheat adds flavor and nutrients but makes denser loaves. All-purpose flour works but yields slightly less chewy results.
Can I refrigerate sourdough dough overnight?
Yes — cold proofing for 8-16 hours actually improves flavor complexity. Shape the dough, place in a proofing basket, cover, and refrigerate. Bake directly from cold for easier scoring.
How do I store sourdough bread?
Store at room temperature in a cloth bag or bread box for up to 3 days. For longer storage, slice and freeze for up to 3 months. Avoid plastic bags, which trap moisture and accelerate mold.
Continue Reading
- How to Master Air Fryer Cooking: Complete Beginner’s Guide with Timing Charts
- Best Plant-Based Protein Substitutes for Traditional Meat Dishes: 2026 Edition
- Best Slow Cooker Crock Pot Chicken Recipes That Always Turn Out Perfect